
Learn how to create a blog using Sitecore Experience Accelerator with out of the box functionalities.
Table of contents
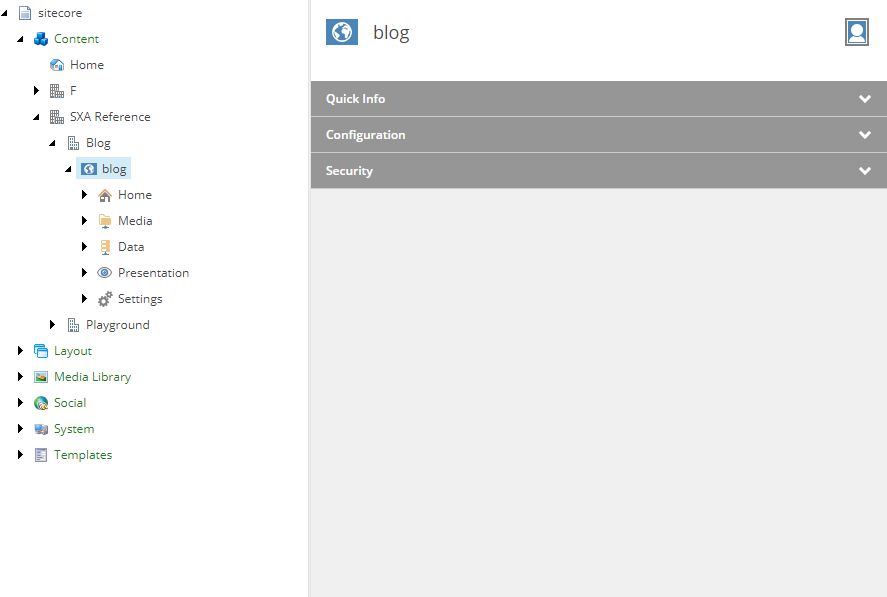
Site ↑
This step is optional. You can already have your own site and just want to extend it with blog features. I will create a separate site to not mix items from XA.Reference site.
It will look like this
Templates ↑
In this section templates for blog items which will be used in next paragraphs will be created.
Templates will be created under Tenant Templates folder, in my case (/sitecore/templates/Project/SXA Reference/Blog)
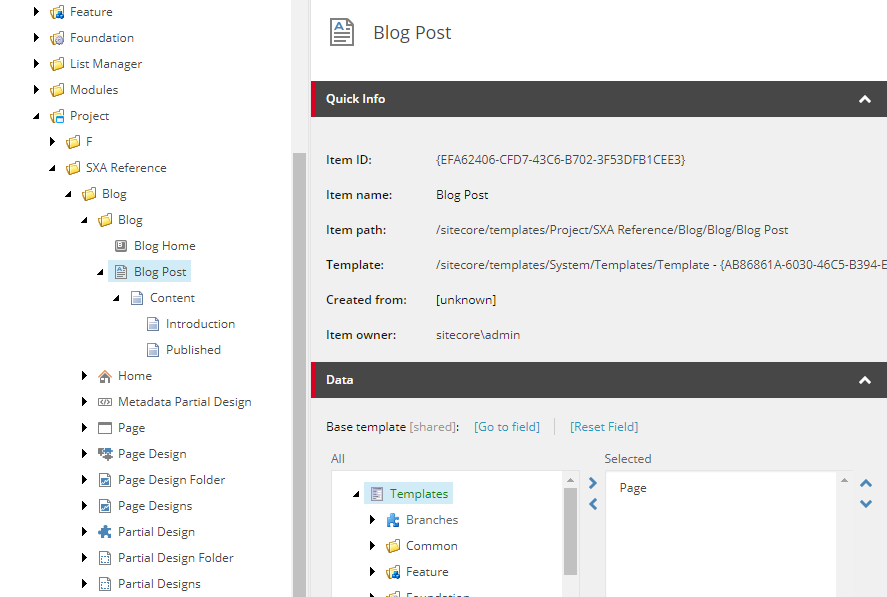
Blog Post template ↑
- Go to Tenant Templates
- Create new template, give it a name: Blog Post
- Set base template to a Page template from your Tenant Templates, in my case (
/sitecore/templates/Project/SXA Reference/Blog/Page) - Add two additional fields under Content section
- Add Standard Values item
- Set
__Bucketablefield to true
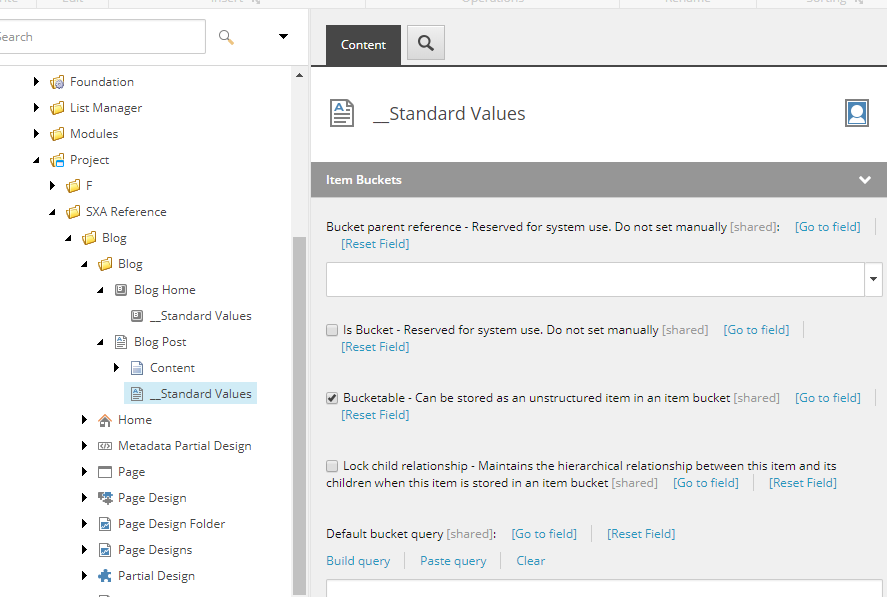
- Fill
Titlefield with$nametoken - Fill
Publishedfield with$nowtoken
Blog Home template ↑
- Go to Tenant Templates
- Create new template, give it a name: Blog Home
- Set base template to Page template from your Tenant Templates, in my case (
/sitecore/templates/Project/SXA Reference/Blog/Page)

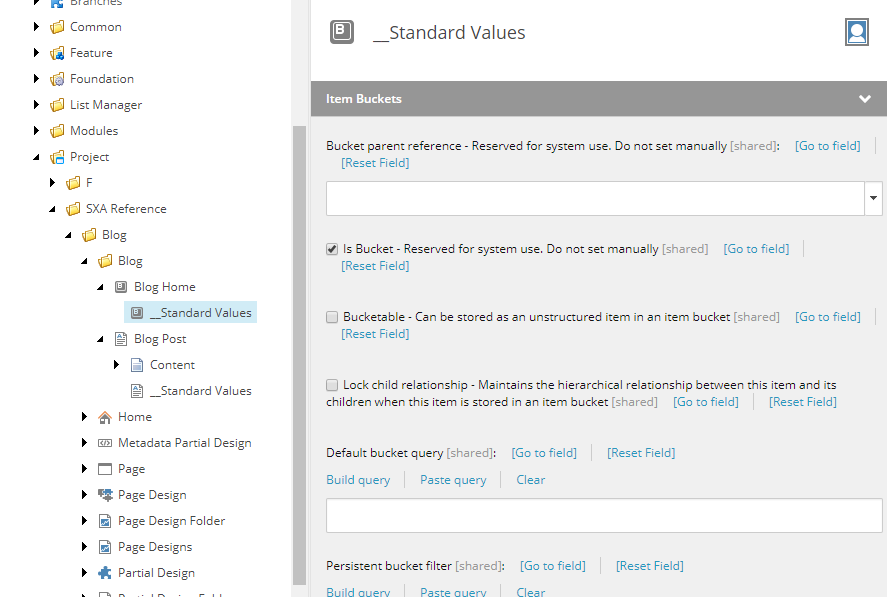
- Add Standard Values item
- Edit
__Mastersfield (Insert Options) - add Blog Post template to insert options
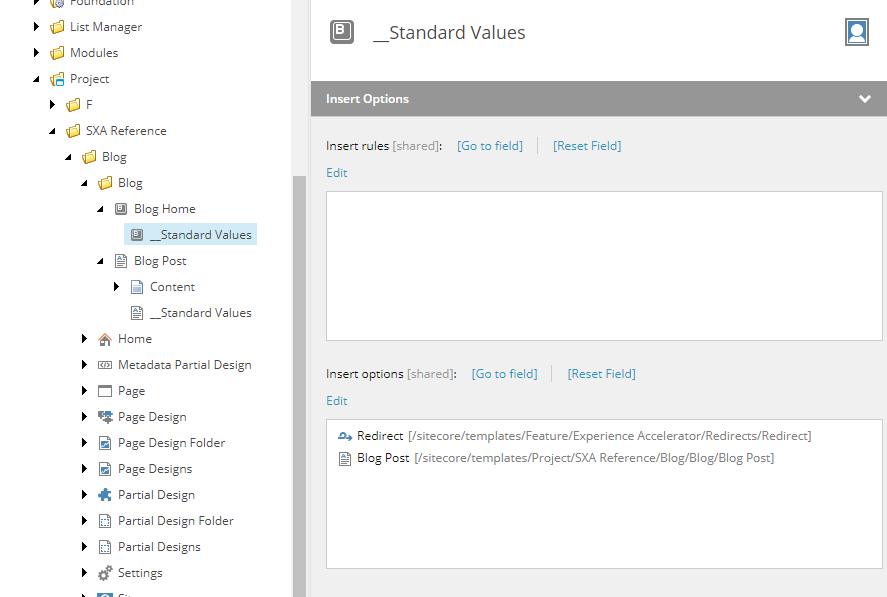
- Set
__Is Bucketfield to true
Content ↑
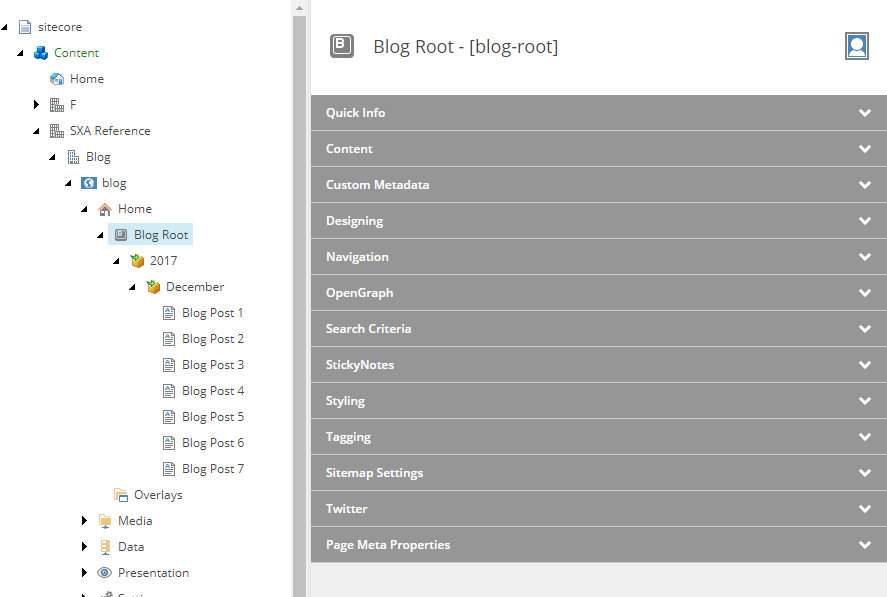
Now when we have our templates we can create example content

- Create some blog posts so we can see if our presentation looks fine in next sections
Item Queries ↑
Before we start defining presentation we will configure Item Query, which will return blog posts for a given blog root. I will be a data source for some of the renderings.
- Go to Item Queries node, in my case (
/sitecore/content/SXA Reference/Blog/blog/Settings/Item Queries) - Create Item Query, give it a name: Blog Post
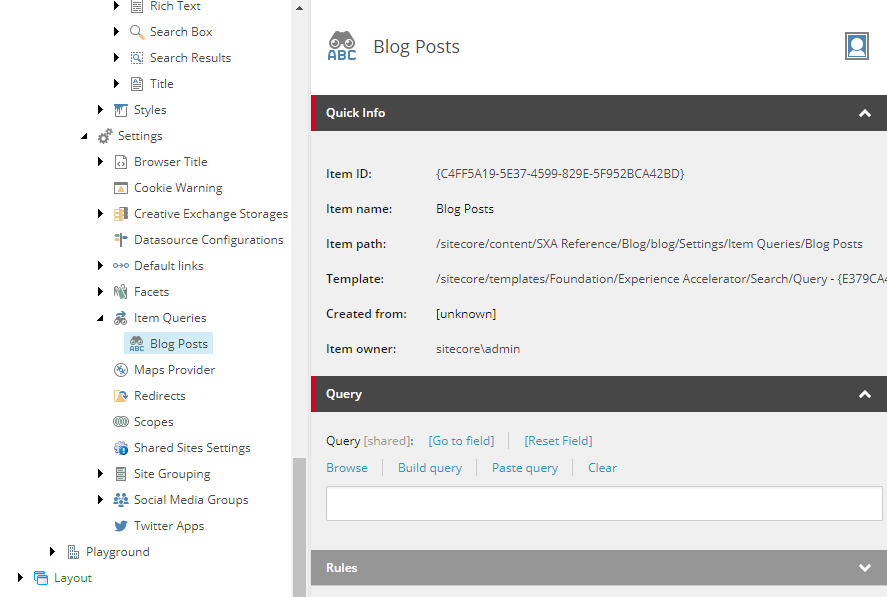
- Click Build Query (button located in
Queryfield) - Create query:

Presentation ↑
In this section we will take care of look and feel of your blog. We will create: Partial Designs, Page Designs and Rendering Variants.
Partial Designs ↑
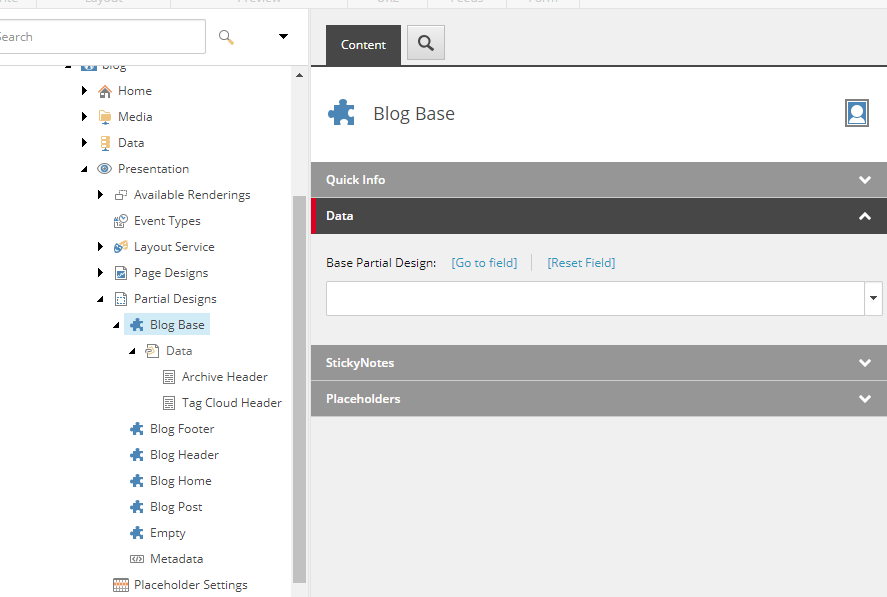
Blog Base Partial Design ↑
This will be base Partial Design for our Blog Home Partial Design and Blog Post Partial Design
- Go to Partial Designs node, in my case (
/sitecore/content/SXA Reference/Blog/blog/Presentation/Partial Designs) - Create Partial Design, give it a name: Blog Base
- Open it in Experience Editor
- Split
mainplaceholder- Add Column Splitter rendering into
mainplaceholder and - Set 1st column width to 8
- Set 2nd column width to 4
- Add Column Splitter rendering into
- Add sidebar renderings
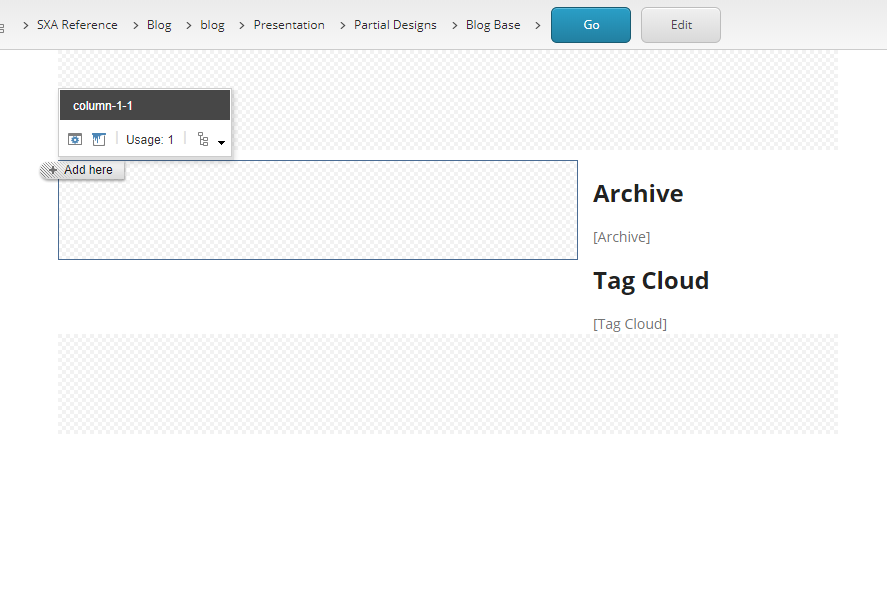
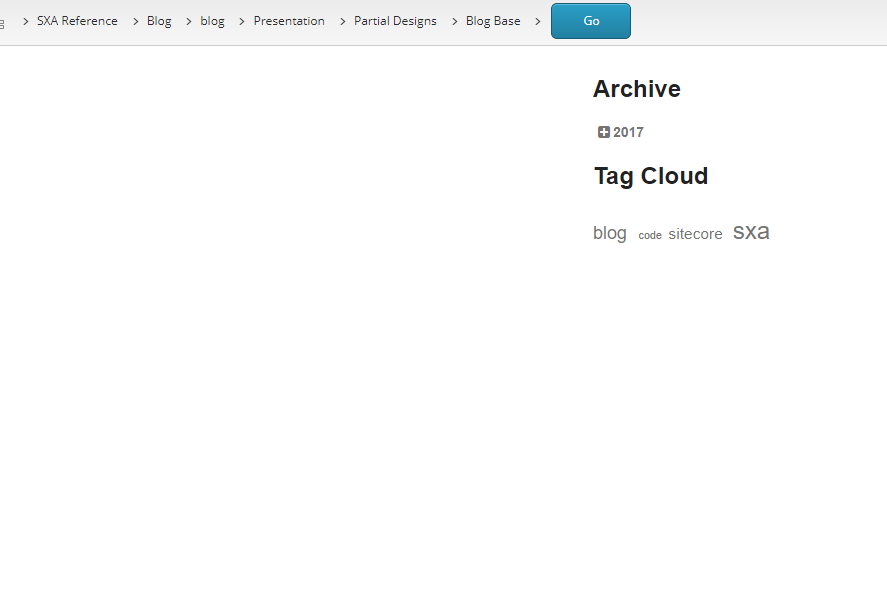
- Add Rich Text rendering into
column-2-1, set its content to: Archive (this will be header text for Archive rendering) - Add Archive rendering into
column-2-1 - Add Rich Text rendering into
column-2-1, set its content to: Tag Cloud (this will be header text for Tag Cloud rendering) - Add Tag Cloud rendering into
column-2-1
- Add Rich Text rendering into
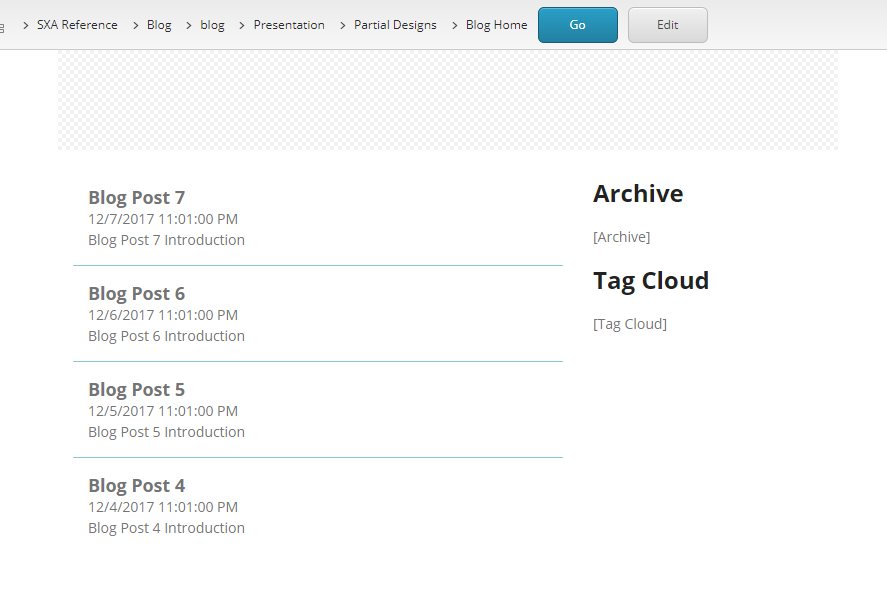
You should obtain a similar result.
-
Experience Editor
-
Content Editor
- Configure Archive
- Configure Tag Cloud
- Open rendering parameters for Tag Cloud rendering
- Set
Data Sourcefield - assign blog root item created here (this will be root to take tags from) - Set
Facetfield - assignSxaTagsfield (this is the default tagging field which comes with Taxonomy feature) - Set
Search Result Pagefield - page where search results will be presented, see how to create serach results page here
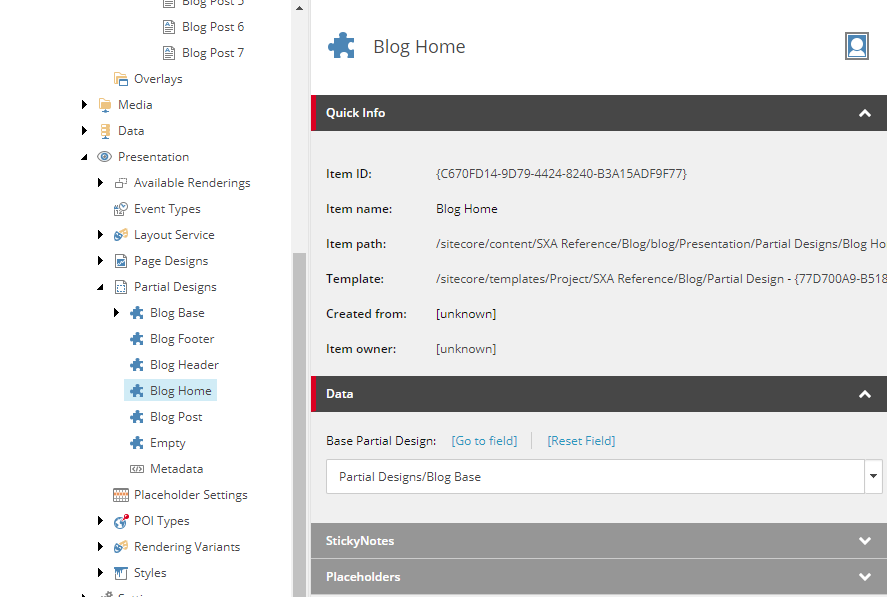
Blog Home Partial Design ↑
- Go to Partial Designs node, in my case (
/sitecore/content/SXA Reference/Blog/blog/Presentation/Partial Designs) - Create Partial Design, give it a name: Blog Home
- Set
Base Partial Designfield to previously created base Partial Design,Partial Designs/Blog Base
- Open it in Experience Editor
-
Add Page List rendering into
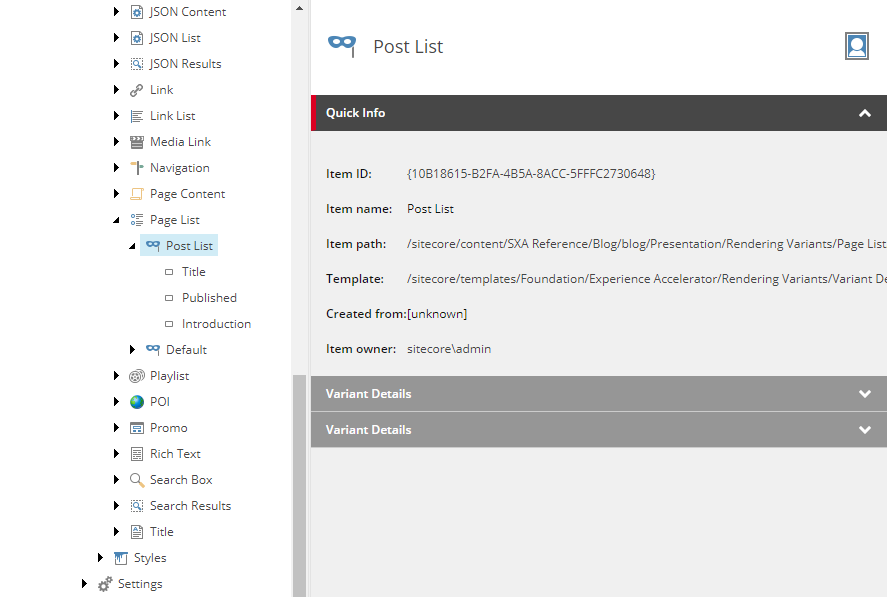
column-1-1 - Create Rendering Variant for Page List
- Go to Rendering Variants root for Page List (
/sitecore/content/SXA Reference/Blog/blog/Presentation/Rendering Variants/Page List) - Create new variant Post List
Titlefield (VariantFieldtype)- Change tag to
h2 - Set
Is linkfield to true
- Change tag to
Publishedfield (VariantDateFieldtype)Introductionfield (VariantFieldtype)
- Go to Rendering Variants root for Page List (
- Go back to Experience Editor
- Assign newly created Post List variant to Page List rendering
- Add Pagination rendering into
column-1-1(under Page List) - Configure Pagination
- Open rendering parameters for Pagination rendering
- Set
List Signaturefield - assign blog-post-list
- Configure Page List
- Open rendering parameters for Page List rendering
- Set
List Signaturefield - assign blog-post-list - Set
Source Typefield - assign Blog Posts Item Query created here - [Optional] Set
Page Sizefield - set number of posts that should be displayed on blog home item
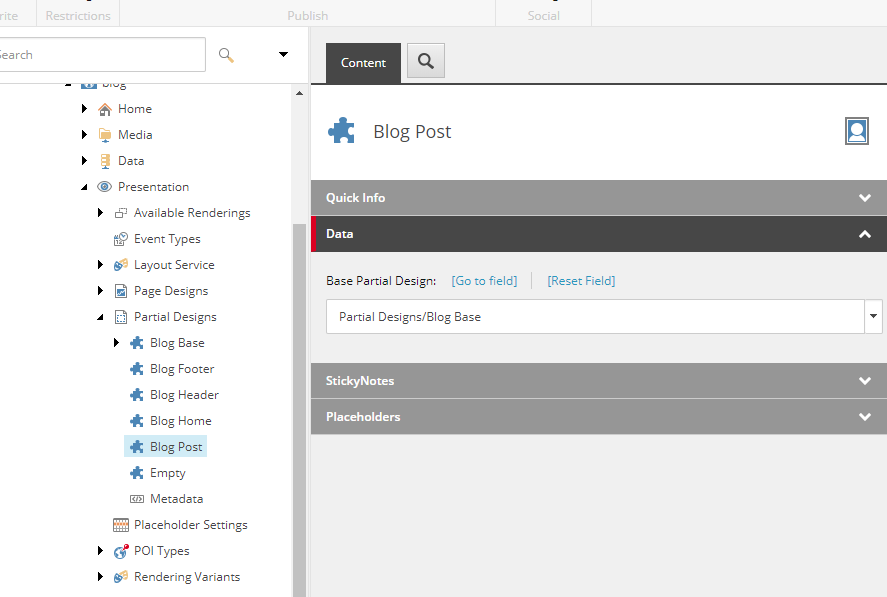
Blog Post Partial Design ↑
- Go to Partial Designs node, in my case (
/sitecore/content/SXA Reference/Blog/blog/Presentation/Partial Designs) - Create Partial Design, give it a name: Blog Post
- Set
Base Partial Designfield to previously created base Partial Design,Partial Designs/Blog Base
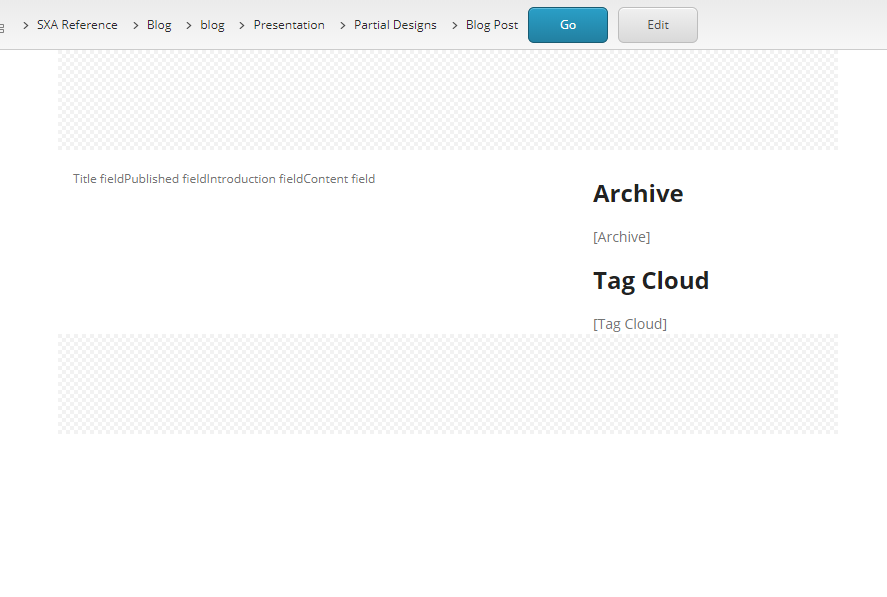
- Open it in Experience Editor
- Add Page Content rendering into
column-1-1 - Create Rendering Variant for Page Content
- Go to Rendering Variants root for Page Content (
/sitecore/content/SXA Reference/Blog/blog/Presentation/Rendering Variants/Page Content) - Create new variant Blog Post Entry
Titlefield (VariantFieldtype)- Change tag to
h1
- Change tag to
Publishedfield (VariantDateFieldtype)Introductionfield (VariantFieldtype)Contentfield (VariantFieldtype)
- Go to Rendering Variants root for Page Content (

- Go back to Experience Editor
- Assign newly created Blog Post Entry variant to Page Content rendering
- Add Tag List rendering into
column-1-1 - Set
Search Result Pagefield - page where search results will be presented, see how to create serach results page here
Page Designs ↑
Blog Post Page Design ↑
- Go to Page Designs node, in my case (
/sitecore/content/SXA Reference/Blog/blog/Presentation/Page Designs) - Create Page Design, give it a name: Blog Post
- Set
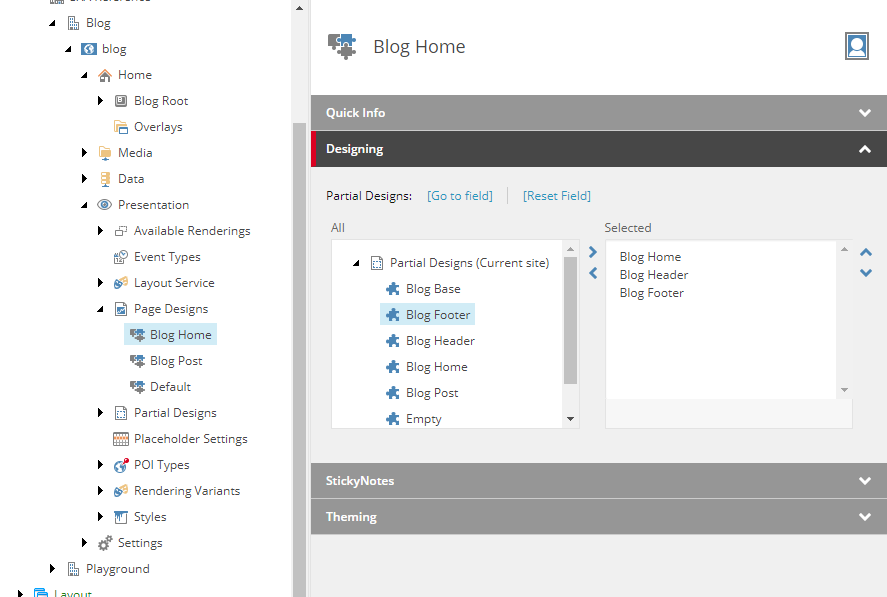
Partial Designsfield - add previously created Partial Designs: Blog Post (I also created Blog Footer and Blog Header for better content organization)

Blog Home Page Design ↑
- Go to Page Designs node, in my case (
/sitecore/content/SXA Reference/Blog/blog/Presentation/Page Designs) - Create Page Design, give it a name: Blog Home
- Set
Partial Designsfield - add previously created Partial Designs: Blog Home (I also created Blog Footer and Blog Header for better content organization)
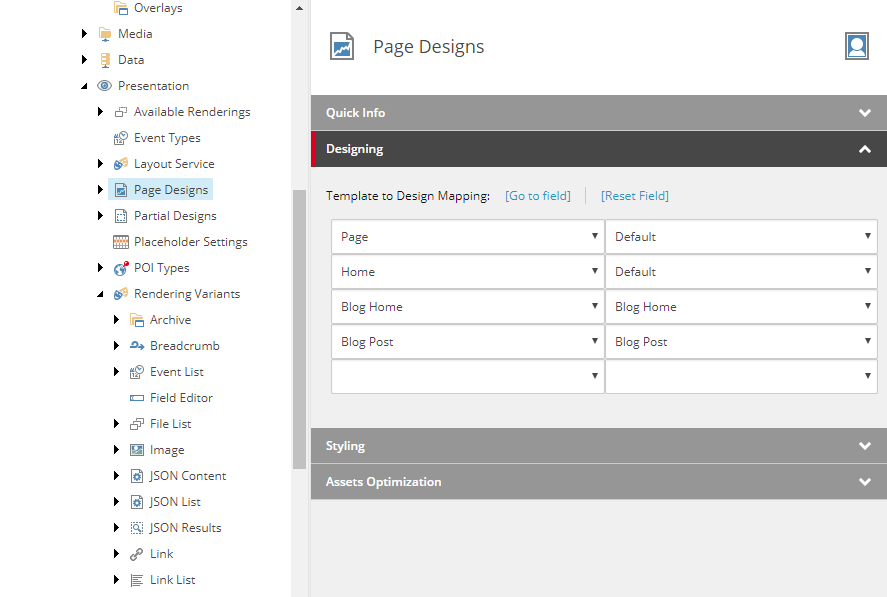
Template mapping ↑
After we created all Page Designs we can set mapping for them.
- Go to Page Designs node, in my case (
/sitecore/content/SXA Reference/Blog/blog/Presentation/Page Designs) - Set
Template Design Mappingfield- Map Blog Home Page Design to Blog Home template
- Map Blog Post Page Design to Blog Post template
Search results page ↑
If you plan to use Tag Cloud or Tag List renderings you will have to create a page where serach results for particular tag will be presented.
There is nothing special with this page, the only required thing is Search Results rendering.
All necessary information about query criteria will be passed via URL.
See example

Advanced configuration
I present few additional steps that will make your search results page look better.
- Create Blog Base Page Design
- Go to Page Designs node, in my case (
/sitecore/content/SXA Reference/Blog/blog/Presentation/Page Designs) - Create Page Design, give it a name: Blog Base
- Set
Partial Designsfield - add previously created Partial Designs: Blog Base (I also created Blog Footer and Blog Header for better content organization)
- Go to Page Designs node, in my case (
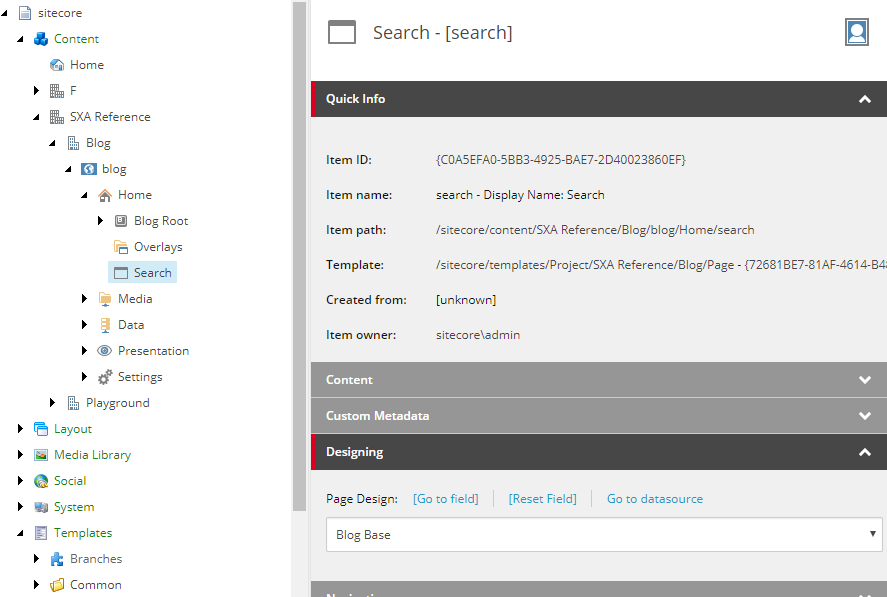
- Create your serach results page (you can use default Page template)
- Assign Blog Base Page Design to search page
- Open it in Experience Editor
- Add Search Results rendering into
column-1-1placeholder - Add Load More rendering into
column-1-1placeholder

- Create Rendering Variant for Search Results
- Go to Rendering Variants root for Search Results (
/sitecore/content/SXA Reference/Blog/blog/Presentation/Rendering Variants/Search Results) - Copy existing variant created for Post List (you can create a new one, I am doing this for convenience)
- Go to Rendering Variants root for Search Results (
- Go back to Experience Editor and assign variant.
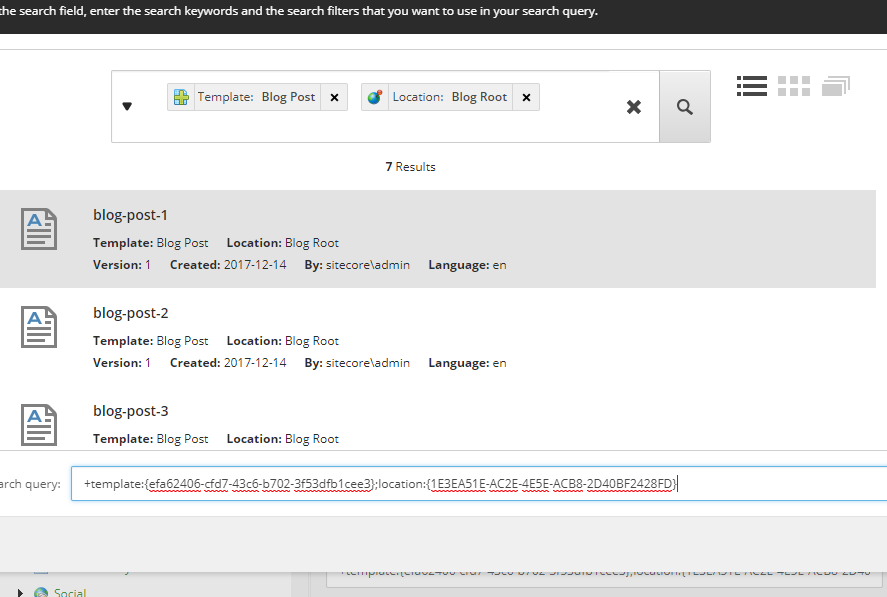
In order to avoid results from different location than blog root, so-called Search Scope has to be created.
- Go to Scopes root (
/sitecore/content/SXA Reference/Blog/blog/Settings/Scopes) - Create new Scope item and name it: Blog Posts
- Set scope query (it is almost the same as one defined in item query but in this case omit sorting)
- Go back to Experience Editor
- Open rendering parameters for Search Results rendering
- Assign Search Scope
One last missing part is sorting. To properly sort results follow steps below:
- Go to Facets root (
/sitecore/content/SXA Reference/Blog/blog/Settings/Facets) - Create new DateFacet item and name it: Published (fields will be automatically set if you select correct name, otherwise make sure that field name for this facet equals Published date field created at the beginning.)
- Go to Sort Results root for search renderings (
/sitecore/content/SXA Reference/Blog/blog/Data/Search/Sort Results) - Create new SortingGroup item and name it: Published
- Add Sorting child and name it: Published Desc
- Set Facet field to Published facet
- Set Direction field to Descending
- Go back to Experience Editor
- Open rendering parameters for Search Results rendering
- Assign Default sort order (Published Descending)
- [Optional] Set
Page Sizefield - set number of posts that should be displayed by Sort Results
Demo ↑
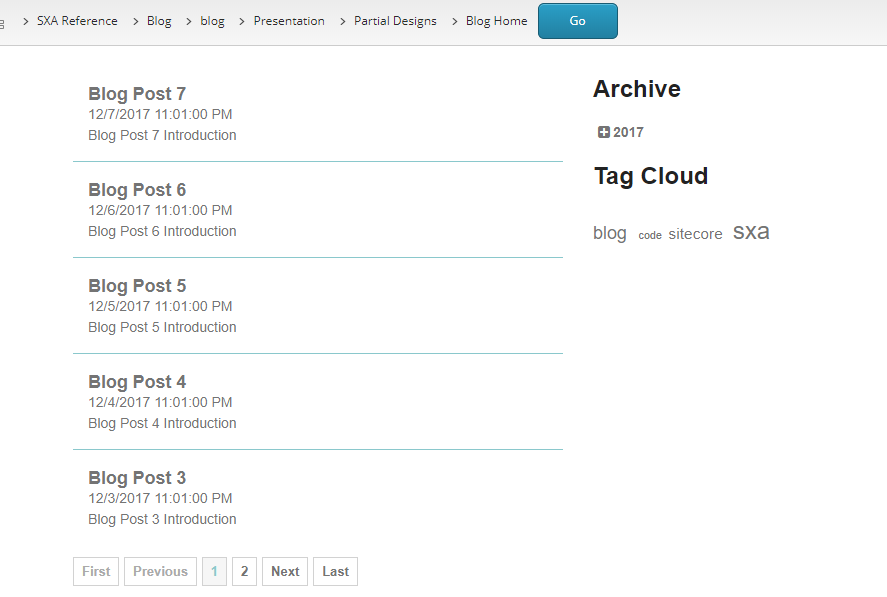
If you’ve done everything correctly you should achieve similar result.

As you can see we haven’t touch Visual Studio at all. Everything happened in content. Simulating blog engine is just an example. There are a lot of other things that can do.
Once you learn using it and feel comfortable you will become a true magician.
Package ↑
The tenant I’ve created for this tutorial can be found here: SXA - Blog.zip
It is compatible with SXA 1.5.
Updated version will be shipped with XA.Reference site, starting from version 5.0 for SXA 1.6
FAQ ↑
How I can change URL slug?
Blog posts URLs are generated based on the path in the content tree. I proposed the solution with blog root as a bucket item because it is easier to maintain URLs that way.
To change the way bucket path his build for blog posts follow steps below:
- Go to Settings node, in my case (
/sitecore/content/SXA Reference/Blog/blog/Settings) - Set
Rulefield (Rules for Resolving the Bucket Folder Path) - configure rule and action. I recommend pointing to blog root using ID condition.
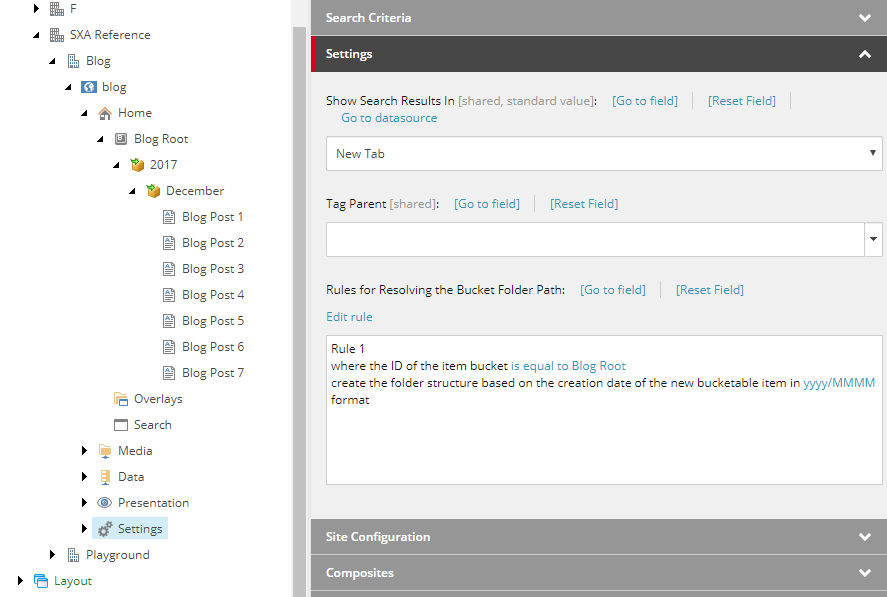
by default you’ve got following Bucketing options available:
Create the folder structure based on:
- the creation date of the new bucketable item in this format
- the ID of the new bucketable item with this number of levels
- the name of the new bucketable item with this number of levels
- the tag with this as a default value
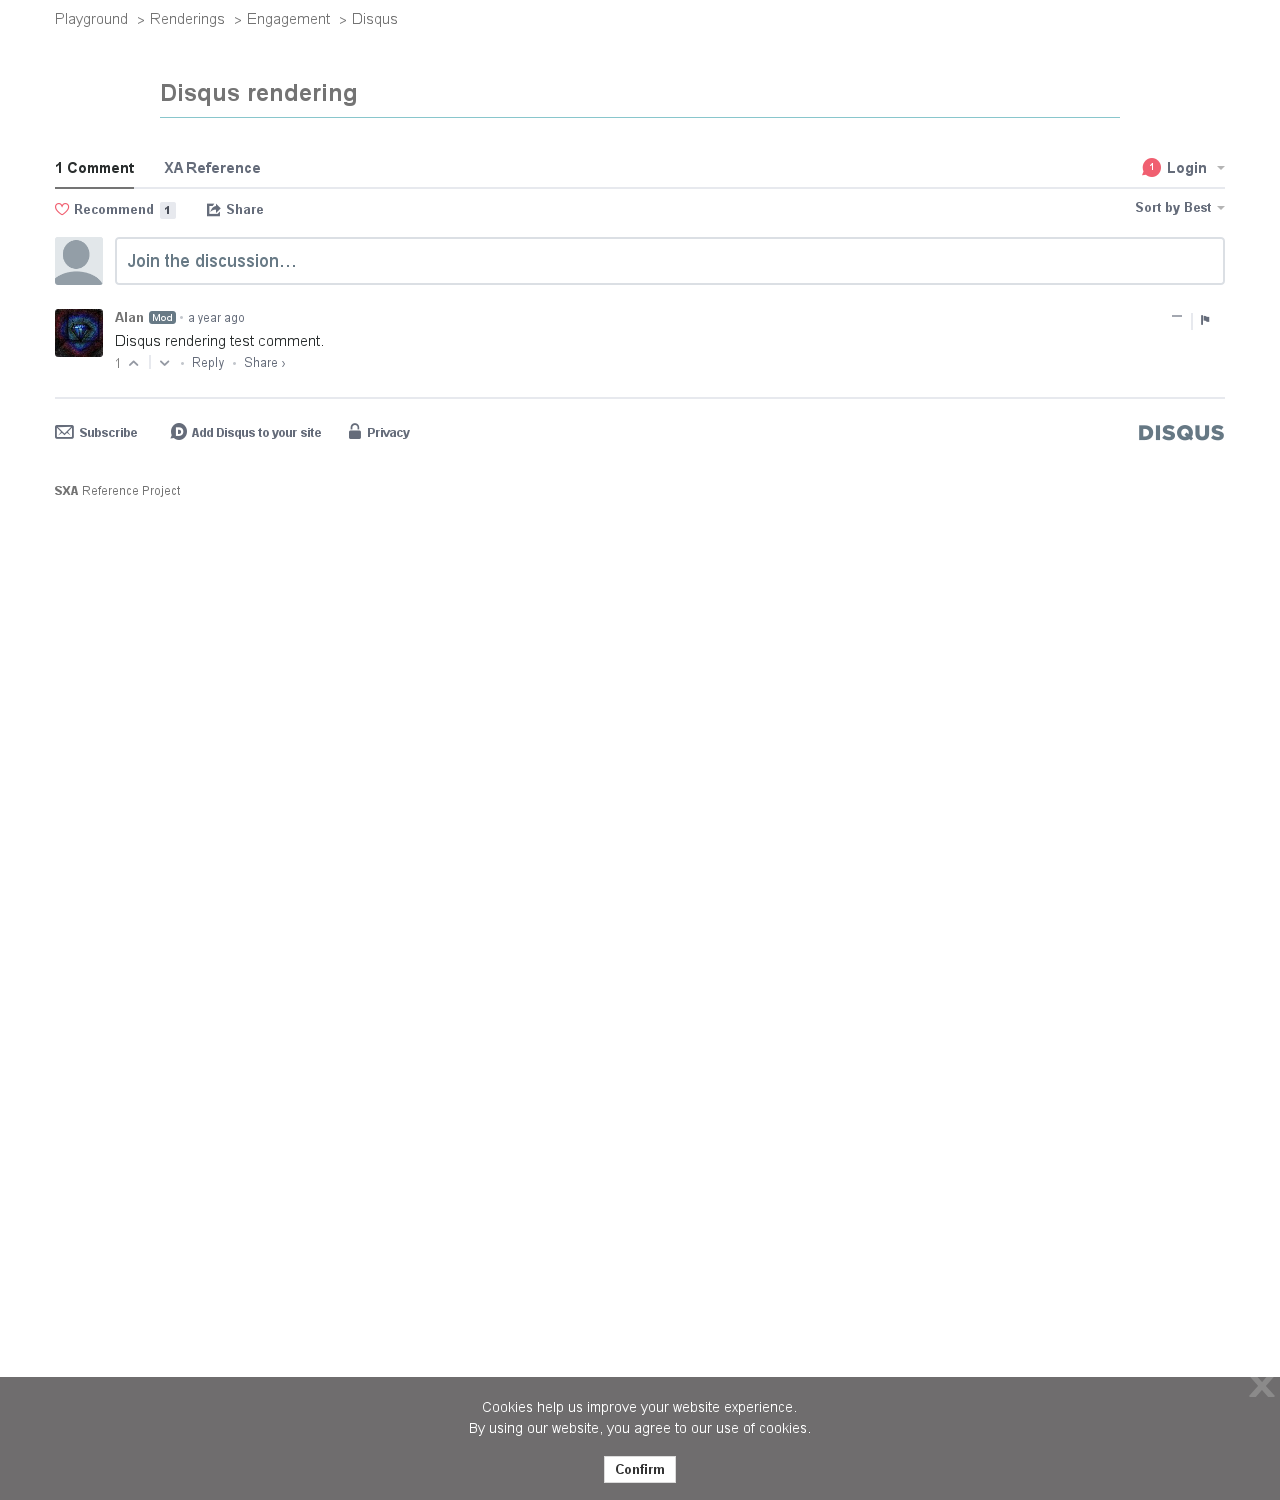
How I can enable comments?
There are few ways to bring comments feature to your blog. Right now they have one in common, they are hosted on external services. Sitecore item-like comments are not delivered out of the box.
SXA provides two external integrations, you can see how they look like on the newest version of SXA here:
How I can enable automatic sync of a bucket?
Sitecore does not provide such feature by default. If you change field or property of your item that is an input for bucket path resolver you will have to manually synchronize tree.
If you need automatic bucket sync you will have to code one. See discussion on stackoverflow about this.